
The Clone Stamp Tool lets you copy pixels from one area of an image to another area. This is a key skill for clean-up work. It acts like painting with a copy of another part of the picture.
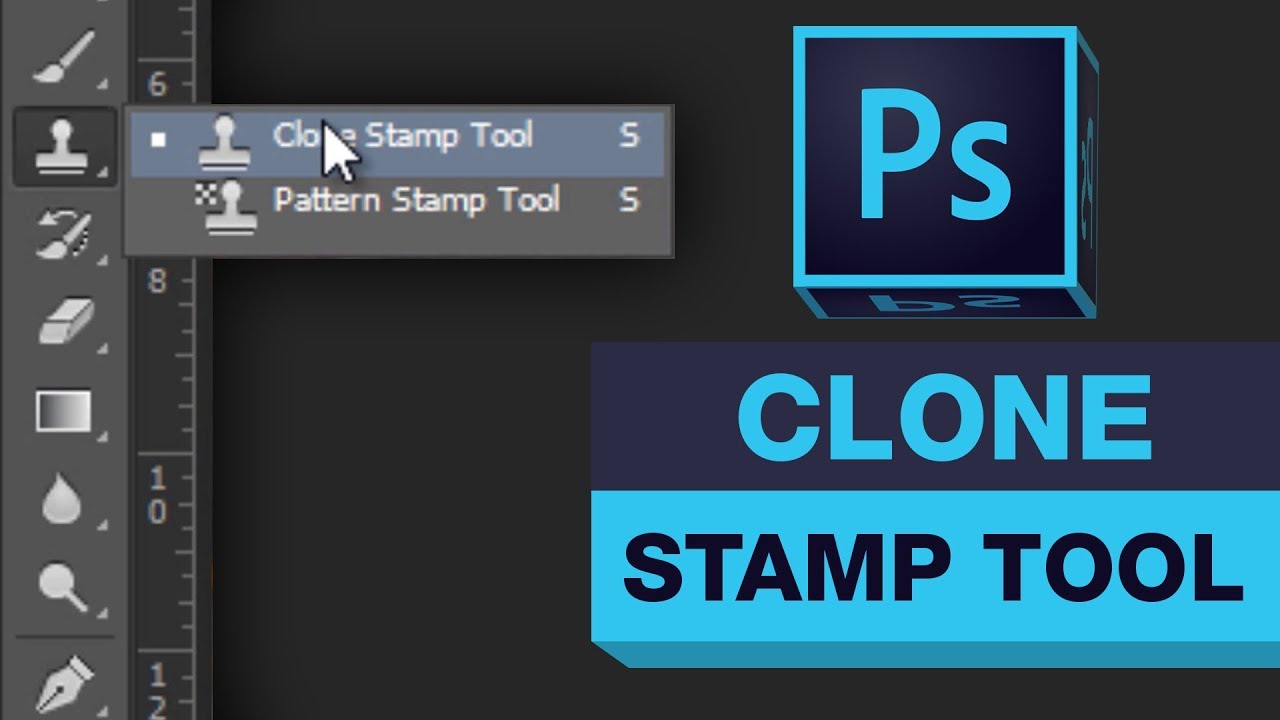
Image Source: i.ytimg.com
Introducing the Power of the Clone Stamp Tool
The Clone Stamp Tool is a classic tool in Adobe Photoshop. Many people use it daily. It is vital for fixing mistakes. It is also great for making complex edits. Think of it as your magic eraser, but instead of erasing, you are painting over bad spots with good spots.
This tool is simple in concept. You pick a spot to copy from. Then, you paint where you want the copy to go. Mastering cloning and retouching techniques makes a huge difference in image quality. It is often the best Photoshop healing brush alternative when you need precise control over the source material.
Where to Find the Tool
Finding the tool is easy. It looks like a rubber stamp icon. You can find it on the main toolbar on the left side of your screen. If you don’t see it right away, it might be hidden. Click and hold on the healing brush icon. A small group of tools will pop up. Select the Clone Stamp Tool from that group.
Setting Up Your Workspace for Cloning Success
Before you start painting, you need to set up your tool correctly. Good setup means better results. This involves choosing the right brush, size, and settings.
Choosing the Right Brush Tip
The brush tip shape matters a lot. A hard edge copies pixels sharply. This can look unnatural. A soft edge blends better. For most retouching, a soft round brush is best.
- Size: Make the brush slightly larger than the area you are fixing. You can change the size quickly by pressing the [ key (to make it smaller) or the ] key (to make it larger).
- Hardness: Keep the hardness low, often between 0% and 50%. This helps with smooth transitions.
Essential Tool Settings: Opacity and Flow
You must pay attention to adjusting clone stamp opacity and flow. These two settings control how much of the cloned material appears with each stroke.
- Opacity: This sets how transparent the painted pixels are. If you set opacity to 100%, the copied area covers the new area completely. For subtle blending, use a lower opacity, like 20% or 30%.
- Flow: Flow controls how quickly the paint builds up. Lower flow means you need more strokes to cover an area fully. Many experts like to keep flow low (around 20-50%) for very careful work. This allows for gradual blending.
| Setting | Typical Use Case | Recommended Value Range |
|---|---|---|
| Opacity | Overall transparency of the clone | 50% – 100% (for heavy fixes) |
| Flow | Speed of paint application | 10% – 50% (for subtle blending) |
| Hardness | Edge definition of the brush | 0% – 50% (for soft blending) |
Step-by-Step Guide: Mastering Source Selection
The most crucial part of using the Clone Stamp Tool is selecting where you copy from. This is called setting the sampling source point Photoshop.
How to Define the Sampling Source Point
To tell Photoshop where to copy from, you use the Alt key (Option on a Mac).
- Locate Good Texture: Find an area near the defect that has the texture, color, and lighting you want to copy. This area should match the area you are fixing as closely as possible.
- Set the Source: Hold down the Alt (Option) key. Your cursor will turn into a target symbol (a small circle with crosshairs).
- Click to Sample: Click once on the perfect spot. This sets your clone source selection in Photoshop.
- Start Painting: Release the Alt (Option) key. Move your cursor over the area you want to cover up. Click and drag to paint the copied pixels onto the target area.
Pro Tip: Keep an eye on the source point cursor (the crosshairs) as you paint. It moves the same distance and direction relative to your brush stroke as your painting cursor does.
Changing the Source Point Often
The secret to seamless work is constant re-sampling. If you paint a long line using the same source point, you will see a repeating pattern. This is a dead giveaway that cloning was used.
Always move your source point frequently. Sample from nearby areas often. This helps achieve excellent Photoshop texture matching.
Advanced Techniques for Seamless Cloning
Simple copying and pasting rarely look perfect. Advanced cloning and retouching techniques focus on blending and matching.
Repairing Damaged Photos Photoshop: Handling Texture
When repairing damaged photos Photoshop, you often deal with scratches, dust, or creases. The goal is to replace the damaged part with clean texture nearby.
- Start with Nearby Texture: Sample a spot right next to the scratch. Use a low opacity (20-30%). Lightly paint over the scratch. This softens the damage without creating a hard copy.
- Introduce New Texture: Move your sample point slightly away from the scratch. Increase the opacity to 50%. Paint again.
- Finalize the Area: Sample from a clean section further away. Use 80-100% opacity only on the very center of the damaged area if needed.
This layered approach prevents harsh lines. It helps the cloned area merge naturally.
Removing Objects with Clone Stamp
Removing objects with Clone Stamp is a common task. For instance, removing a distracting telephone pole or an unwanted person from a landscape.
- Establish Edges First: If the object touches a distinct line (like a horizon or a wall), trace that line first using the Clone Stamp. This helps define the new edge where the object used to be.
- Sample Broadly: Choose a source point that includes the desired background texture but is far enough away so you don’t copy parts of the object you are trying to hide.
- Work Against the Grain: If you are cloning over grass, sample from grass that goes in the same direction. If you are fixing a wall, sample from the wall texture.
Using Clone Stamp for Touch-Ups on Skin and Portraits
Using Clone Stamp for touch-ups on skin requires extreme delicacy. You are not trying to erase pores; you are trying to smooth texture inconsistencies.
- Use a very small brush size.
- Use very low opacity (under 20%).
- Always sample from an area of skin that has a similar tone and texture to the area you are fixing. Avoid sampling from highlights or deep shadows.
Layer Management: The Non-Destructive Workflow
Never work directly on your original image layer when using the Clone Stamp Tool. If you make a mistake, you lose everything unless you work non-destructively.
The Secret to Cloning on a New Layer
This is a fundamental trick for professional results:
- Create a New Layer: Go to Layer > New > Layer. Name it something like “Cloning Work.”
- Set the Sample Mode: Look at the Options Bar at the top of Photoshop. Find the “Sample” drop-down menu. Change it from “Current & Below” to “All Layers.”
- Set Alignment: Make sure the “Aligned” box is checked. This ensures that every time you lift your stylus or mouse and start a new stroke, the source point relates correctly to where you started the last stroke.
Why this works: When set to “All Layers,” the tool samples pixels from all visible layers but paints the result only onto the active (new) layer. If you mess up, just delete the cloning layer. The original photo remains untouched.
Cloning and Blending Areas: Creating Realistic Transitions
Blending cloned areas smoothly is where skill shines. A sudden change in tone or texture ruins the illusion.
When cloning complex scenes, like clouds or foliage, use multiple, short strokes. Overlap your strokes slightly. This helps soften the seams between different source samples.
A common technique involves setting the blending mode of the cloning layer to something like ‘Soft Light’ or ‘Overlay’ after you have finished cloning. Experiment with this after you have painted everything at 100% opacity on a separate layer. Sometimes, this final step can help integrate the tones better with the original image.
Fine-Tuning Your Source Selection in Photoshop
Sometimes the area you need to copy from is far away from the target area. Or maybe the lighting changes across the scene.
Using the Clone Source Panel
For very complex tasks, the Clone Source Panel offers more control than just the Alt-click method.
- Open the Panel: Go to Window > Clone Source.
- Manage Multiple Sources: This panel lets you load, save, and manage several clone source selection in Photoshop points at once. You can define Source 1, Source 2, etc.
- Transforming the Source: The panel also lets you scale or flip your source image before you stamp it. If you need to match a texture on the right side of an image to the left side, you can flip the source horizontally in this panel. This is invaluable for symmetry work.
When to Use the Healing Brush Instead
The Clone Stamp Tool copies pixels exactly. The Photoshop healing brush alternative, the Spot Healing Brush or Healing Brush Tool, is smarter.
- Healing Brush: Requires you to set a source point (like Clone Stamp), but when you paint, it blends the texture and automatically matches the color and luminosity (brightness) of the destination area.
- Clone Stamp: Only copies the texture and color from the source. It does not adjust for light differences.
Rule of Thumb: Use the Clone Stamp when the texture and lighting of the source and destination areas are nearly identical. Use the Healing Brush when the texture matches but the lighting or color needs adjustment.
Practical Applications and Workflow Tips
Let’s look at specific jobs where the Clone Stamp excels.
Table: Best Uses for the Clone Stamp Tool
| Task | Why Clone Stamp is Preferred | Key Setting Focus |
|---|---|---|
| Repeating Patterns | Need exact copies of a pattern element | High Opacity, Aligned Source |
| Fixing Hard Lines/Edges | Copying concrete, walls, or horizon lines | Medium Hardness, Careful alignment |
| Repairing Damaged Photos Photoshop | Replacing large areas of missing data | Layered application, Frequent Re-sampling |
| Copying Detail (e.g., Eyes) | Duplicating fine elements for effect | Small Brush Size, Low Flow |
Workflow Integration for Complex Jobs
When working on a large project, your process should be organized.
- Initial Cleanup (Spot Healing): Quickly remove tiny dust spots and small blemishes using the Spot Healing Brush first.
- Major Object Removal (Clone Stamp): Use the Clone Stamp on a separate layer for bigger removals. Focus on establishing new background edges first.
- Texture Refinement (Clone Stamp & Healing Brush): Switch between the two tools to refine rough cloned areas. Use the Clone Stamp for texture, then the Healing Brush for tone correction.
- Final Adjustments: Add a global color or contrast adjustment layer on top to tie everything together.
Fathoming the Controls: A Deeper Look
To truly master the tool, we need to look at how its specific settings affect the output.
Sample Modes Explained
The “Sample” dropdown dictates what Photoshop looks at when you paint.
- Current Layer: Only pixels on the layer you are currently painting on are used as the source. If the layer is empty (like a new layer), nothing happens.
- Current & Below: Uses pixels from the current layer and all layers underneath it to determine the color and tone of the sample point. This is often used when blending a clone layer onto the base layer.
- All Layers: This is the standard choice for non-destructive cloning (as described earlier). It reads all visible pixels for sampling but only paints onto the active layer.
Alignment Toggle
The “Aligned” checkbox toggles the behavior of the source point.
- Checked (Aligned): As mentioned, the source point moves relative to your stroke path. If you lift your mouse and start a new stroke ten pixels to the right, the source point will also shift ten pixels to the right from its original starting position for that stroke. This maintains consistency across a long edit.
- Unchecked (Non-Aligned): Every time you lift your mouse and start painting again, the source point snaps back to the exact point you first Alt-clicked. This is useful for dabbing away small spots individually, as you reset the source each time.
Conclusion: Practice Makes Perfect
The Clone Stamp Tool is powerful, but it rewards patience. It requires an eye for detail and consistency. Don’t rush the sampling source point Photoshop selection. Take your time blending cloned areas.
By using it on separate layers, controlling your opacity and flow, and frequently changing your sample area, you will become adept at removing objects with Clone Stamp and making subtle using Clone Stamp for touch-ups. Consistent practice with cloning and retouching techniques will make your edits invisible.
Frequently Asked Questions (FAQ)
Q: Is the Clone Stamp Tool better than the Content-Aware Fill feature?
A: They serve different purposes. Content-Aware Fill analyzes the entire surrounding area to generate new pixels automatically, which is excellent for large, complex patches. The Clone Stamp Tool gives you manual, pixel-by-pixel control. Use Content-Aware for speed on large, simple backgrounds. Use the Clone Stamp when you need precise texture control, like matching complex patterns or working near sharp edges.
Q: Can I use the Clone Stamp Tool to clone between two different documents?
A: Yes, you can. As long as both documents are open in Photoshop, you can set your sample mode to “All Layers” (if the documents are stacked, which they aren’t exactly, but the principle holds) or more reliably, you can copy the desired area from one document, paste it onto a new layer in your working document, and then use the Clone Stamp on that layer to sample from the pasted content and paint elsewhere.
Q: How do I fix a cloned area that looks too repetitive or patterned?
A: Repetition happens when you use the same source point too long. To fix this: Immediately set a new source point nearby (Alt/Option-click). Using a brush with low opacity (below 30%) and low flow, paint gently over the patterned area. This feathers the edge of the repetitive texture into the new, different texture, effectively breaking up the pattern.
Q: What is the best way to match lighting when cloning shadows?
A: The Clone Stamp does not automatically match light. When dealing with shadows, you must sample from a shadow area that is similar in darkness to your target area. If the target area is slightly lighter than your source, use a lower opacity setting (e.g., 40%) to layer the shadow texture gently, rather than dropping a full 100% shadow on top of a mid-tone.